
More Tips
Post-Processing
RAW Format: Shoot in RAW for maximum flexibility during editing.
Exposure Adjustments: Slightly underexpose shots to retain highlight details, then adjust brightness during editing.
Color Correction: Correct white balance and enhance saturation carefully without overdoing it.
Lens Corrections: Perform corrections to remove chromatic aberration or distortions before stitching images together.
By following these tips, you can create stunning panoramic photographs with minimal errors and maximum visual impact.
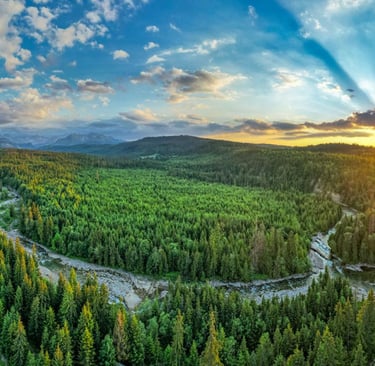
Panoramas
Equipment and Setup
Use a Tripod: A sturdy tripod ensures stability and alignment, especially for complex panoramas.
Panoramic Head: A panoramic head allows rotation around the nodal point, minimizing parallax error.
Manual Mode: Set your camera to manual mode to maintain consistent exposure across all frames.
Lens Selection: Wide zoom lenses are versatile for panoramas. Avoid circular polarizers as they can distort skies.
Shooting Techniques
Overlap Shots: Ensure 30–50% overlap between images for seamless stitching during post-processing.
Vertical Orientation: Shooting vertically captures more detail and yields higher resolution panoramas compared to horizontal shots.
Focus and Aperture: Use manual focus set to infinity and a small aperture (f/8–f/16) to keep everything sharp.
Environment Considerations
Level Horizon: Keep the camera level to avoid distortion, especially in landscape shots.
Avoid Foreground Objects: Unless using specialized equipment, avoid foreground elements like trees or bushes that may cause stitching errors due to parallax.
Wind and Movement: Avoid shooting in windy conditions or scenes with moving objects like water waves that can disrupt the panorama.